

I did it! I finished my sisters baby shower invitations.
They turned out better than I ever imagined! They are invites in a diaper!

Here is a step by step to make these:
1) Find card stock that you love at your local craft store. They come in books that have a theme or single sheets...I went with the book of papers that had the same theme. Remember that this will offset the whole feel for the event, so make sure the papers you pick are exactly what you want.
cut two different sizes of different patterns... one will be 5x6 while the top piece will be 4.5 x 5.

Next, find the style of decorative edging scissor you want and cut 3 of the 4 sides on the smaller piece of paper that will be the top layer...leaving the bottom straight.
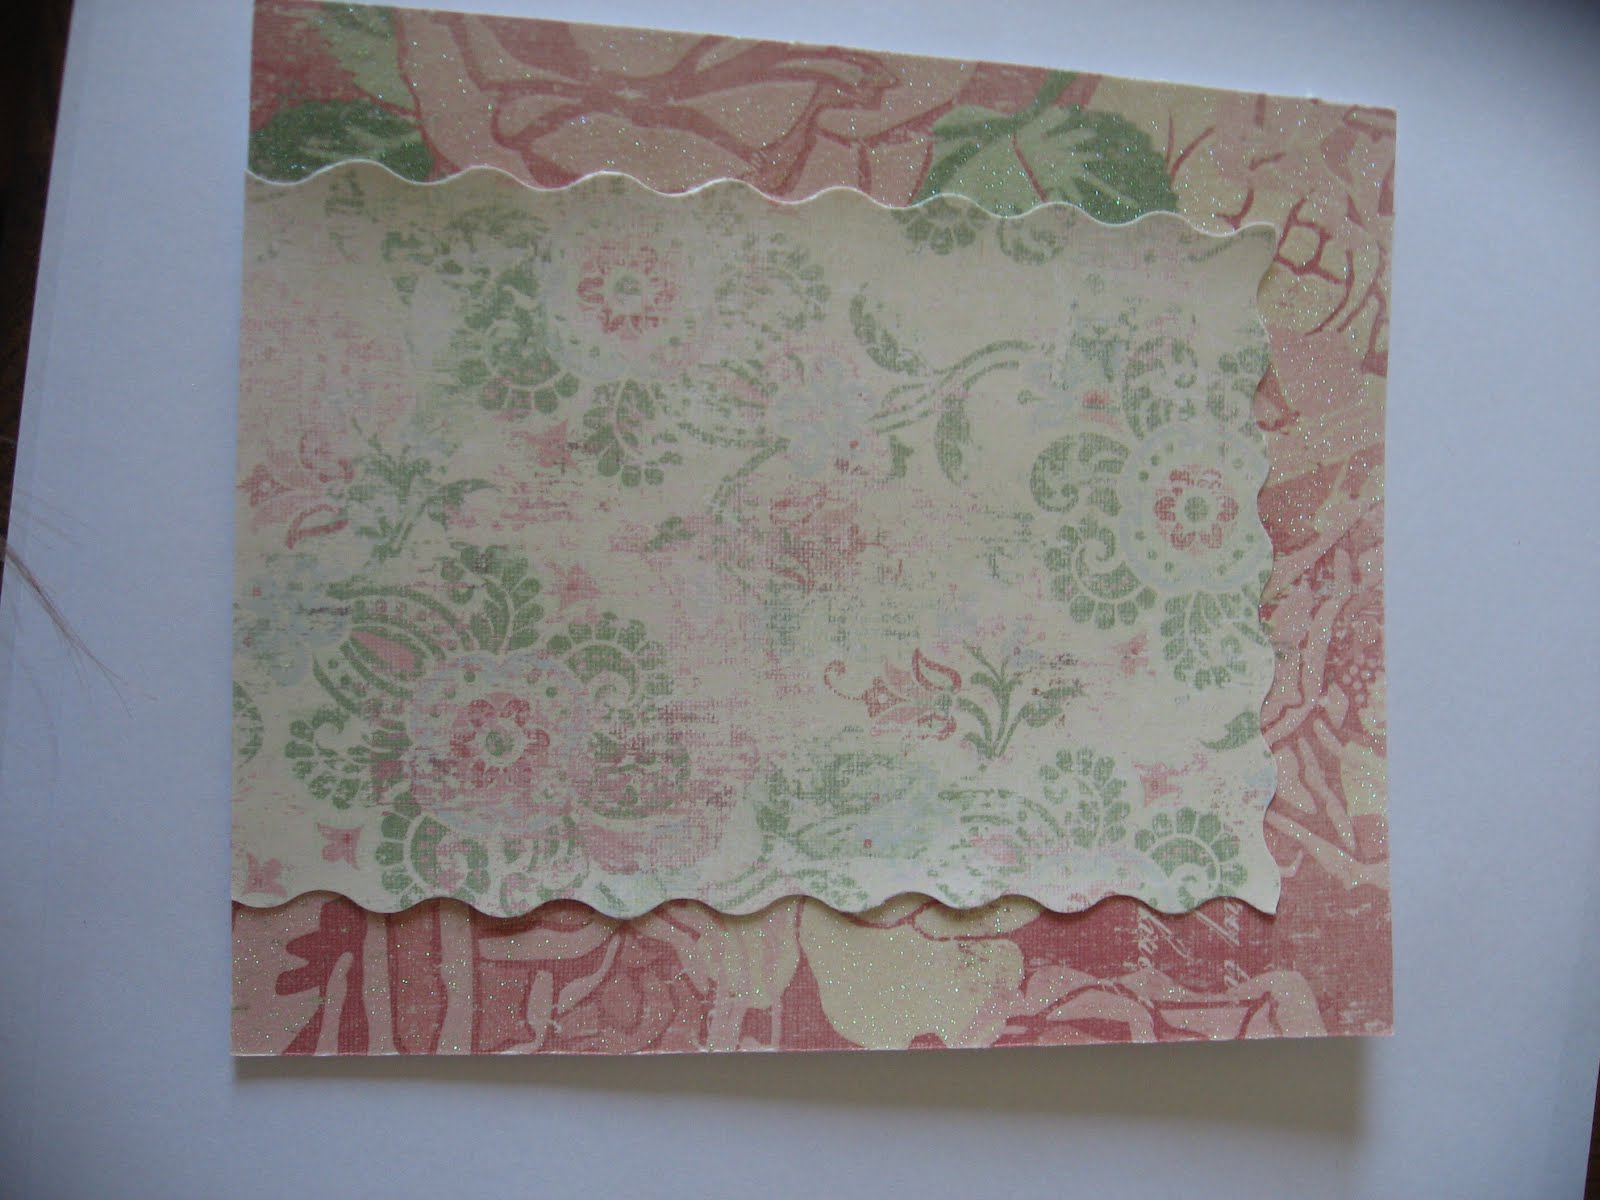
This is a side view of placing the paper on....the straight edge will be on the bottom. and glue it down.
 Next, print out 1.5" square baby pics of the couple who is expecting...I wanted them to stick out from the colorful and busy background so in my computer, I made the picture sepia...
You are also going to cut out 2" squares of yet another pattern (yet still all within the color scheme of the papers)...and take another style scissor to the edge. Glue the picture to the patterned/cut paper square.
 Make sure for the baby picture of the dad to be is on a completely different pattern and color of that of the mom to be...another pattern...the more patterns, the better! When you get both baby pictures done glue them to the main invite that you started.
 Now for the wording and actual invite. Use your computer program to come up with a saying...print it out on vellum paper...make sure you cut the vellum to fit the entire invitation face. There are many different sayings, invite styles and fonts out there in cyber space.
 Line up the vellum to the invite and edge the corners to a nice style.
 Take the small hole punch and punch in holes on each corner.
 Place little brads (there are so many styles and colors to chose from) into the holes. I chose 2 different colors...just because I was going for the all out busy/colorful/country french baby look.
 You are then going to make your bows for the top center of the invite. I guess you could buy them, but I wanted the extra punishment of making my own...haha... make them little.
 Attach them with glue dots...they will flatten and hold the material perfectly without a mess.
 When you are done with the invite, get a package of size one diapers and place the invite into the diaper. Tie two 2' pieces of ribbon around the diaper and into a bow...
Add a little tag with something on it or where they're registered at.
Place it in an envelope and mail!
And that's how I made them ;)
Any questions...
or
if you need some done for YOUR event and you want someone else to take on the task,
I could do it for you!
Just contact me at:


3 comments:
You're amazing! I have three kids and I have a feeling I'd have glue dots and bows stuck all over myself if I attempted this project. They look wonderful!!!
LMBO at the previous comment...I totally agree...Michele you honestly need to share some of your time management skills with the rest of us who are scratching our heads at how you do ALL that you do....Love you ! by the way invites are incredible !!!
Very cute!
Post a Comment